
If you like homemade mac-n-cheese you’ll definitely enjoy this version made with beer and bacon. It’s so creamy and so flavorful. If you don’t like bacon, leave it out, but bacon is a favorite in our house. It was kid approved by the man-cheese eating kiddo (the non mac-n-cheese eating kiddo wasn’t home for dinner). I added chipotle Tabasco to mine and that put it over the top for me!
Beer bread: we’ve been making it for quite some time. It is beyond good and beyond delicious and beyond easy! We usually make a loaf, but this time we opted to make biscuits. We’ll stick with the loaf from here on out because the biscuits didn’t have the same moist tenderness that the loaf has.
Beer Mac-n-Cheese recipe from A Spicy Perspective.
Beer Bread recipe from Food Network.
Beer Mac-n-Cheese
Ingredients:
- 1 lb. elbow pasta
- 12 oz. Shiner Bock (or favorite beer)
- 8 oz. cream cheese (I used cream cheese with Greek yogurt)
- 1 lb. cheddar cheese (not preshredded)
- 1 c. crumbled bacon
Beer Mac-n-Cheese directions:
- Place a large pot water on the stove to boil. Once boiling, add generous amounts of salt and add pasta; cook pasta al dente. Drain and set aside.
- Meanwhile, pour a bottle of beer in a skillet. (Choose a light crisp beer that you like to drink.) Turn the heat on high, and add the cream cheese in medium sized chunks. As the beer starts to simmer, break the cream cheese into pieces with a whisk and whisk into the beer. Add the shredded cheese and whisk until completely smooth.
- Once the pasta is cooked and drained, pour it into the cheese sauce. Reduce the heat to low, then stir and cook another 3 minutes to thicken. Salt and pepper to taste.
- To serve, scoop the beer mac and cheese into bowls and sprinkle with crumbled bacon.
Beer Mac-n-Cheese:
![]()
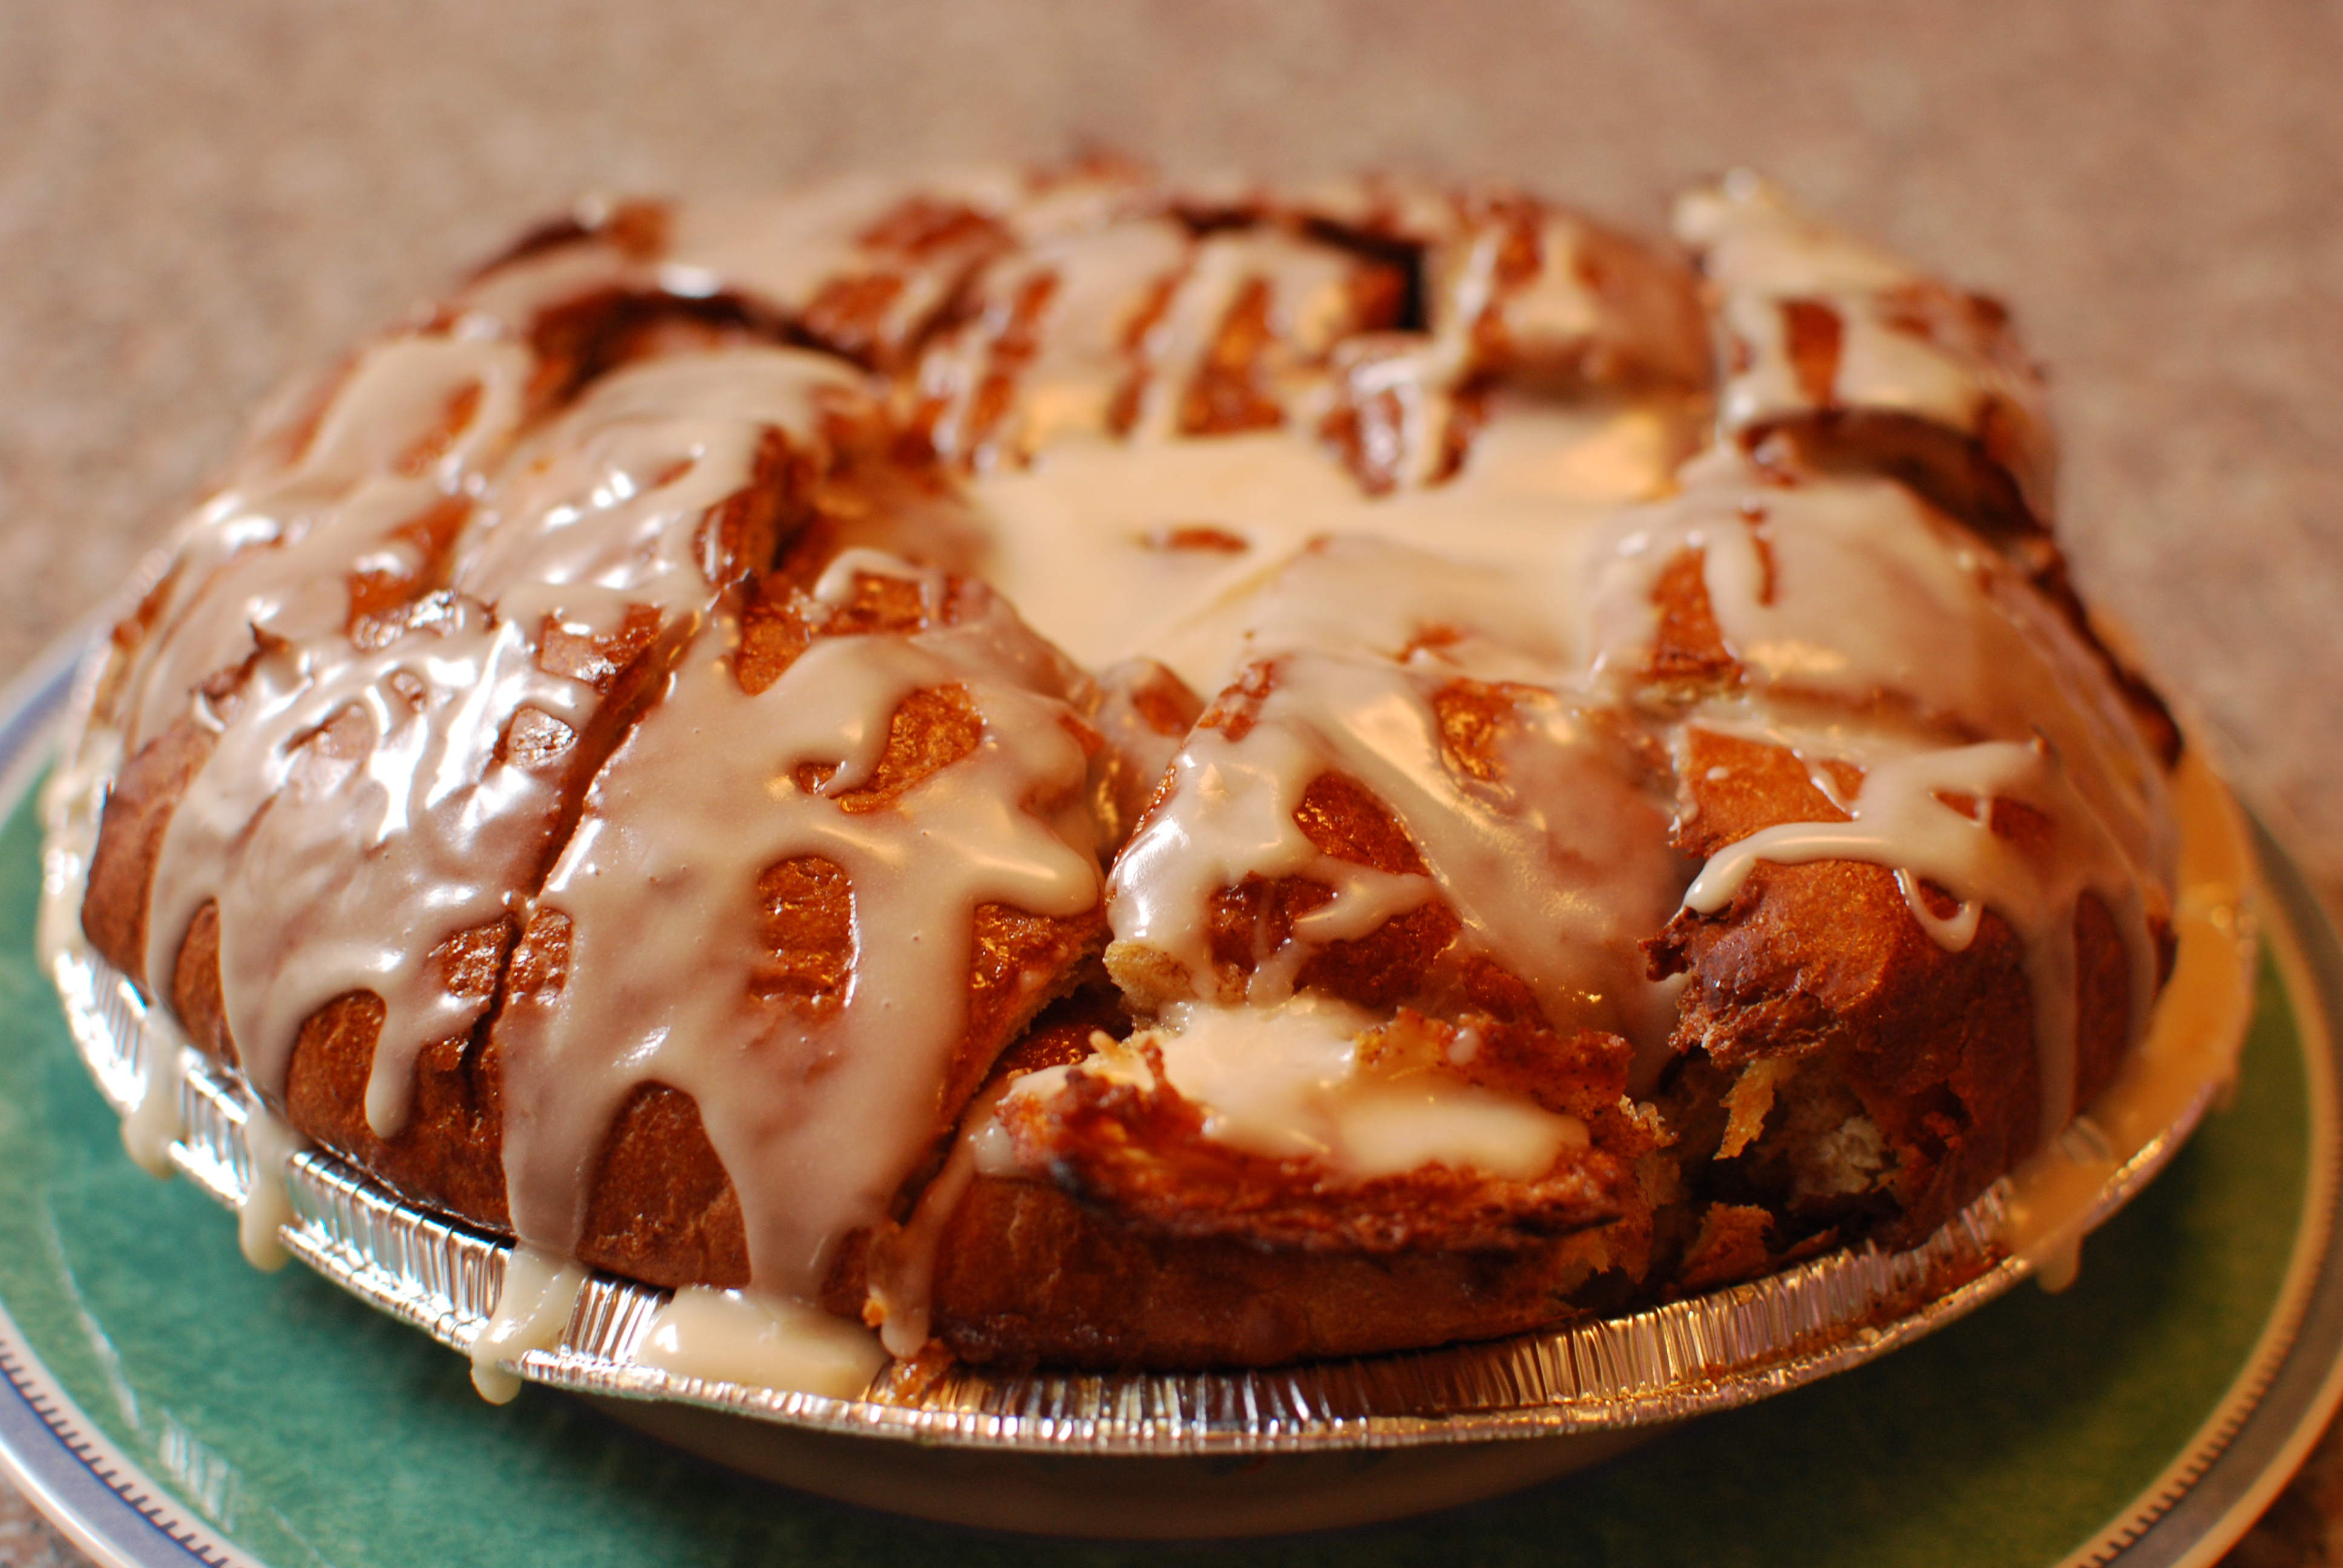
Beer Bread
Ingredients:
- 3 c. self rising flour
- 1/2 c. sugar
- 12 oz. bottle of Shiner Bock beer (or favorite beer)
- 3 TBSP melted butter
Beer Bread Directions:
- Preheat the oven to 375*F.
- Butter a loaf pan and set aside.
- In a large bowl, combine the flour, sugar, and beer and mix well. The mixture should be sticky. Pour into the loaf pan and bake for 55 minutes. At the last 3 minutes of baking, remove from oven, brush the top of the loaf with butter and return to oven.
Beer Bread:
![]()


Recent Comments