Recipe adapted from Cupcake and Kale Chips.
Ingredients:
- 1 c. leftover mashed potatoes
- 1 c. shredded cheddar cheese, optional
- 1 1/2 c. gluten free cup for cup flour
- 1/2 c. tapioca starch
- 1 tsp. xanthan gum
- 1/2 tsp. salt
- 1 egg
- 1/4 c. sour cream
- 1/3 – 1/2 c. warm water
- 2-3 onions sliced thinly
- 1/2 stick butter
Directions:
- Filling: In a bowl combine leftover mashed potatoes and shredded cheese if using.
- Dough: Whisk the GF flour, tapioca starch, xanthan gum, and salt together in a large bowl and make a well in the middle. Place the eggs and sour cream into the well. Using your fingers, gradually work the flour into the eggs and sour cream until you have a crumbly mixture. Slowly pour in the water while working it into the flour mixture with your hands, starting with about 1?4 c., then adding more gradually as you bring the dough together. You will think you haven’t added enough, but as you work the dough, it will come together. So it is better to add the water very slowly.
- Once the dough comes together, knead it until it is fairly smooth and elastic, and slightly damp, but not loose. You can wet your fingers to work in a little more water at a time, as needed. Form the dough into a ball, cover with plastic wrap, and let rest in the refrigerator for about 10 minutes (do not let it rest more than about 30 minutes).
- Using about a quarter of the dough a ta time, roll it out very thin on a silicone baking mat, about 1/8″ thick. You can lightly dust the surface with a little tapioca starch, only if needed. Cut circles about 3-3 1/2 in. in diameter. Place about 1 tablespoon of the desired filling offset from the middle of the circle, fold the circle over, and press the edges together with your fingers, then use a fork to seal completely. Place the formed pierogi on a parchment-lined sheet pan. Repeat with the remaining dough, gathering the scraps to roll a second time to get a full 2 dozen. Do not roll more than twice, as the dough gets dry and tough.
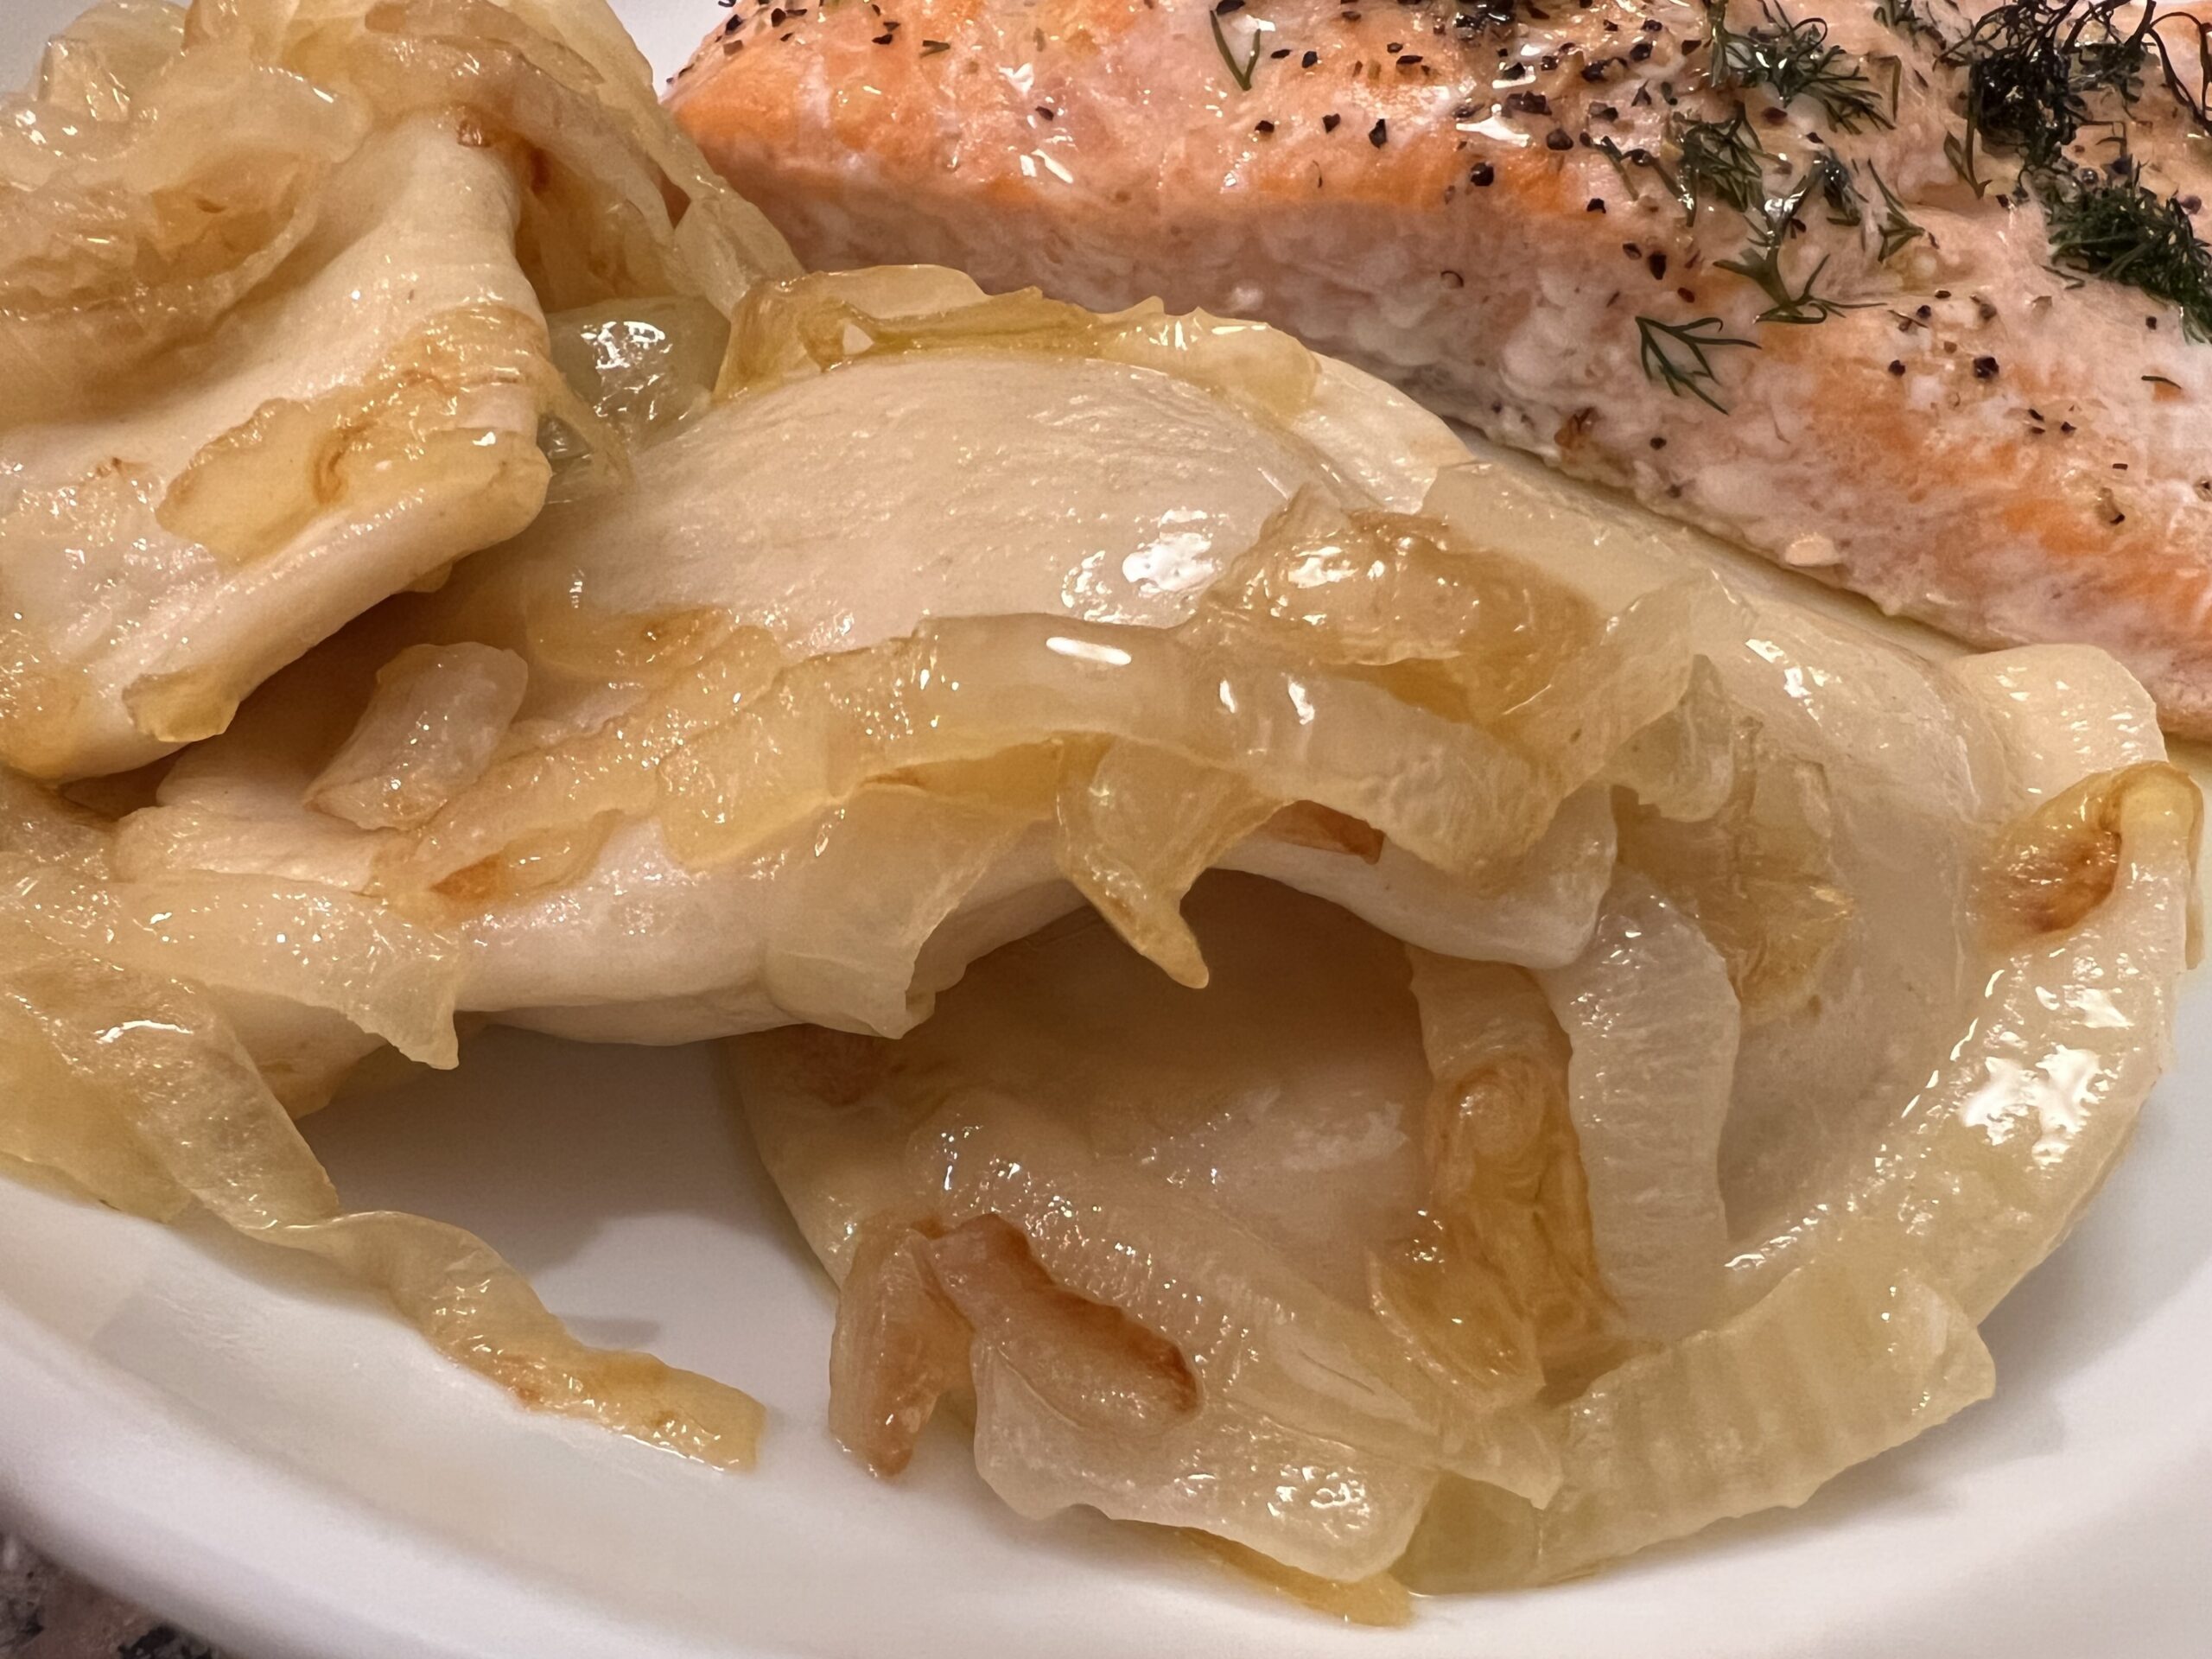
- Cook Pierogis: Bring a pot of water to a gentle simmer (do not boil. Add pierogis, stirring gently to keep them from sticking to the bottom and each other. Do not overcrowd your pan. Simmer for about 4 minutes. They will be floating when they are done. Remove from the simmering water, and place in a baking pan or on a sheet pan sprayed with cooking spray, and top with some small bits of butter to keep them from sticking.
- Onions: Heat a large saute pan over medium heat. Add the butter and saute the onions until golden. Once onions are golden add pierogis and toss to coat.
Gluten Free Pierogis:


Recent Comments